
Let's begin with preparing our Raspberry Pi.
This blog is just one part of a multipart series on how to use the Raspberry Pi with the Ouya. It is designed this way because frankly there is way too much to cover in a single blog. Links for each of the articles as well as the header/main article will be included at the bottom of each entry to allow users ease of use in following along.
Read on if you want to know more.
"Note: If you get a black screen but the audio is playing. Or you got a potato PC and it's studdering. We have fallback Links below."

Video tutorial fallback mirrors:
In case you have no-script enabled or for some reason cannot see the title video on this website. We have provided direct links for these videos. For more information about the standards we use on this site click here if you would like to know more.
AV1       - Link
MP4/.h264 - Link
OGV       - Link
This part of the tutorial covers how to set up an OS on a Raspberry Pi device. If you have a different Pi and/or you already know how to perform the basic tasks of setting up your operating system then you may skip this section.
Downloads:
Usually, we would host the files the user needs to download to make this blog a sort of one-stop-shop for everything that you could need for our tutorials. In this situation, we feel it's better to send you off to the vendors themselves as they will often update their images and utilities at a higher frequency than we will be able to perform. Thus, the first file you will need to download is the following:
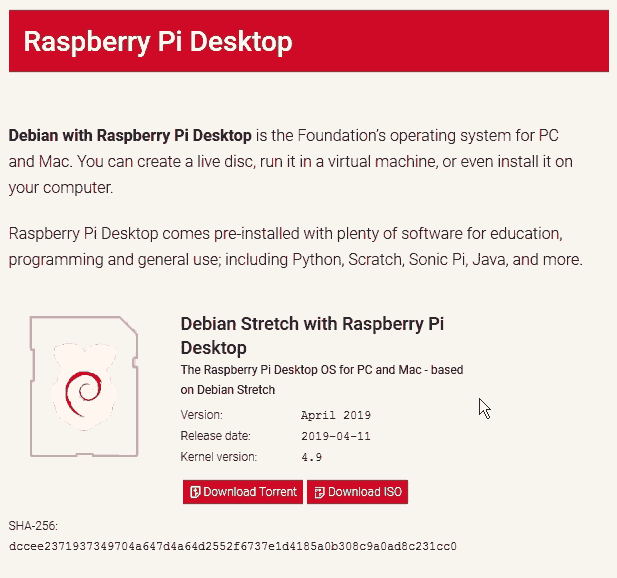
You will first need to download the Raspberry Pi image provided of course you are using a Raspberry Pi like we are. Follow this link to their site and download it directly from them!

Now that you got your image you'll need something to flash it with. This utility is available for all platforms so no worries there. Click here to go to their site and download the proper version for your PC.

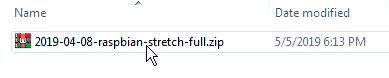
Once you have received both files we're going to first plug our MMC/MicroSD card into our computer by any means necessary and launch the balenaEtcher utility to continue.

If you are on a Windows box it may freak out that it's a new and potentially dangerous program. your screen will vary but run the program anyways.

The moment you launch etcher you will be greeted with the screen above. Provided you plugged in your Micro SD card earlier it may have already detected the destination drive and thus there is no need for you to press the change button and select the drive that is your SD. To begin we're going to click the "Select Image" button.
The cool thing with etcher is that we don't need to unzip the file like we would when processing adds command. we simply select the file and go.
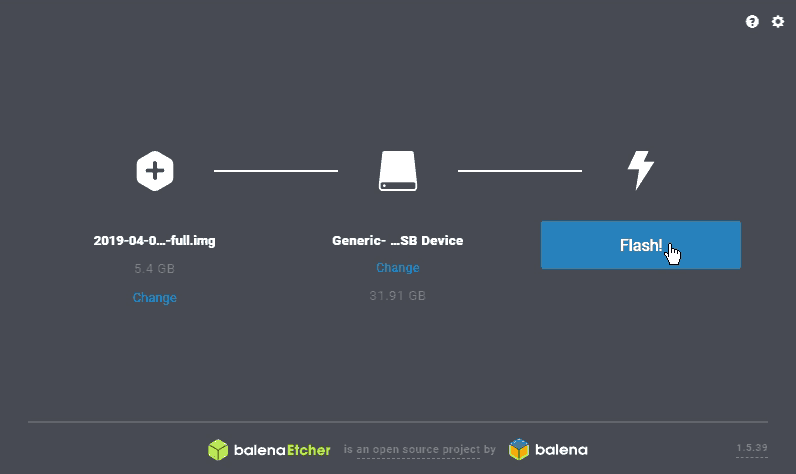
Once the image is selected as well as the destination drive. The "Flash!" button should appear indicating it is ready to write the Raspberry Pi OS to your Micro SD device.

Etcher will begin flashing.

Etcher will also validate the image to make sure it's written to the Micro SD card correctly.
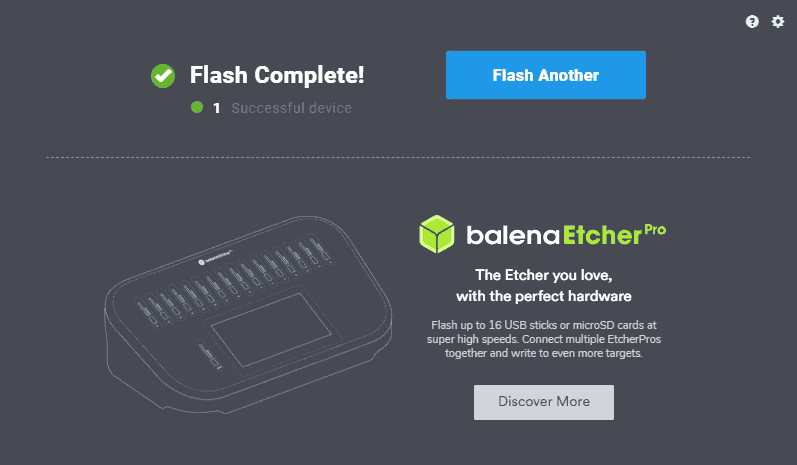
If all goes well you should see a success screen indicating that the etcher tool did its job. We are done with our PC/MAC/Linux device and ready to fire up our Raspberry Pi.
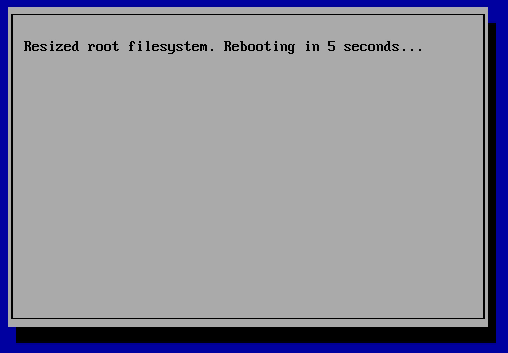
Upon startup, you may see this screen very briefly and only for a few seconds telling you that it's going to resize the OS partition to fill the entire Micro-SD card and then reboot itself. This process is automatic.

You will then be greeted by this lovely screen. This is about as close to a BIOS screen the Raspberry Pi has and should disappear momentarily.
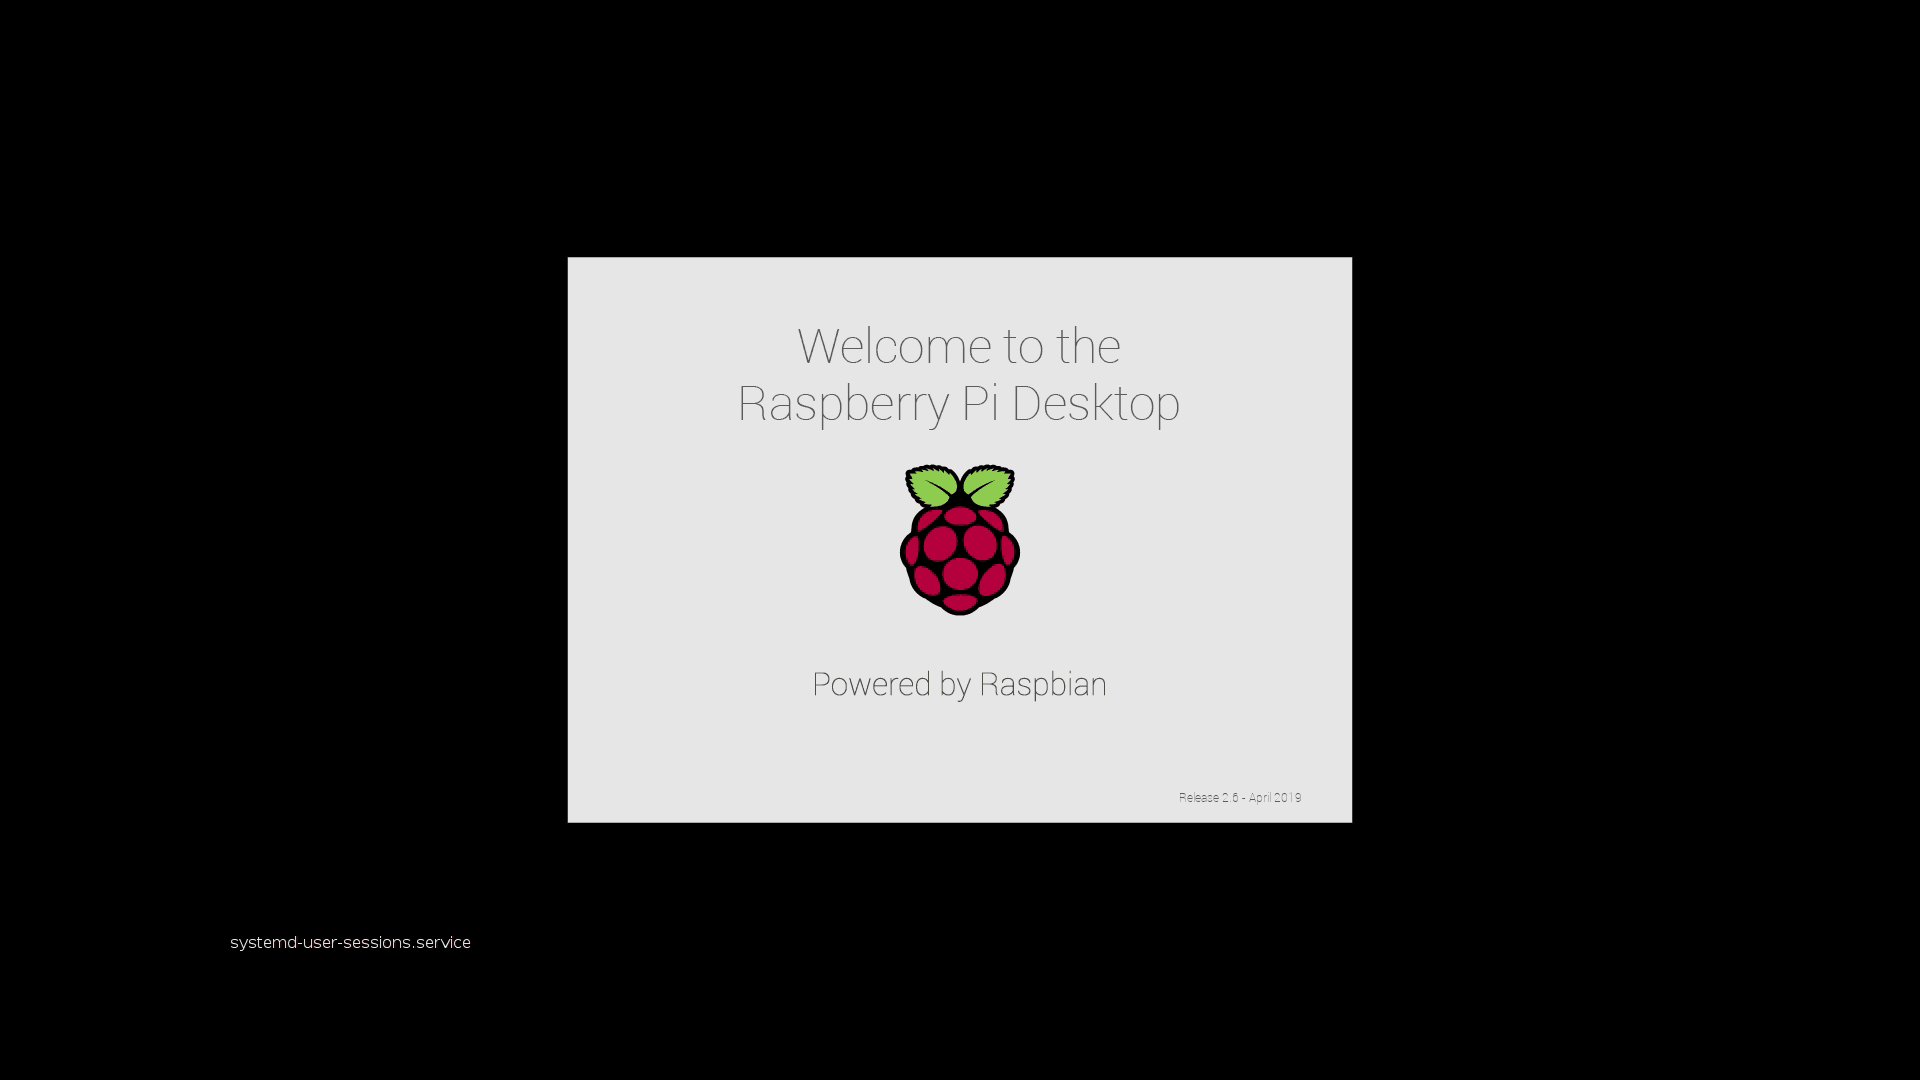
If all goes well you should see your Pi come to life and begin booting.
Note: If you see the multi-colored BIOS icon in the upper right corner of the screen. That indicates that the Pi is not receiving enough power. This could be a low amperage power supply or a weak USB cable that cannot feed 2+ amps to the Pi. This indicator only appears on Raspberry Pi 2 models and above.
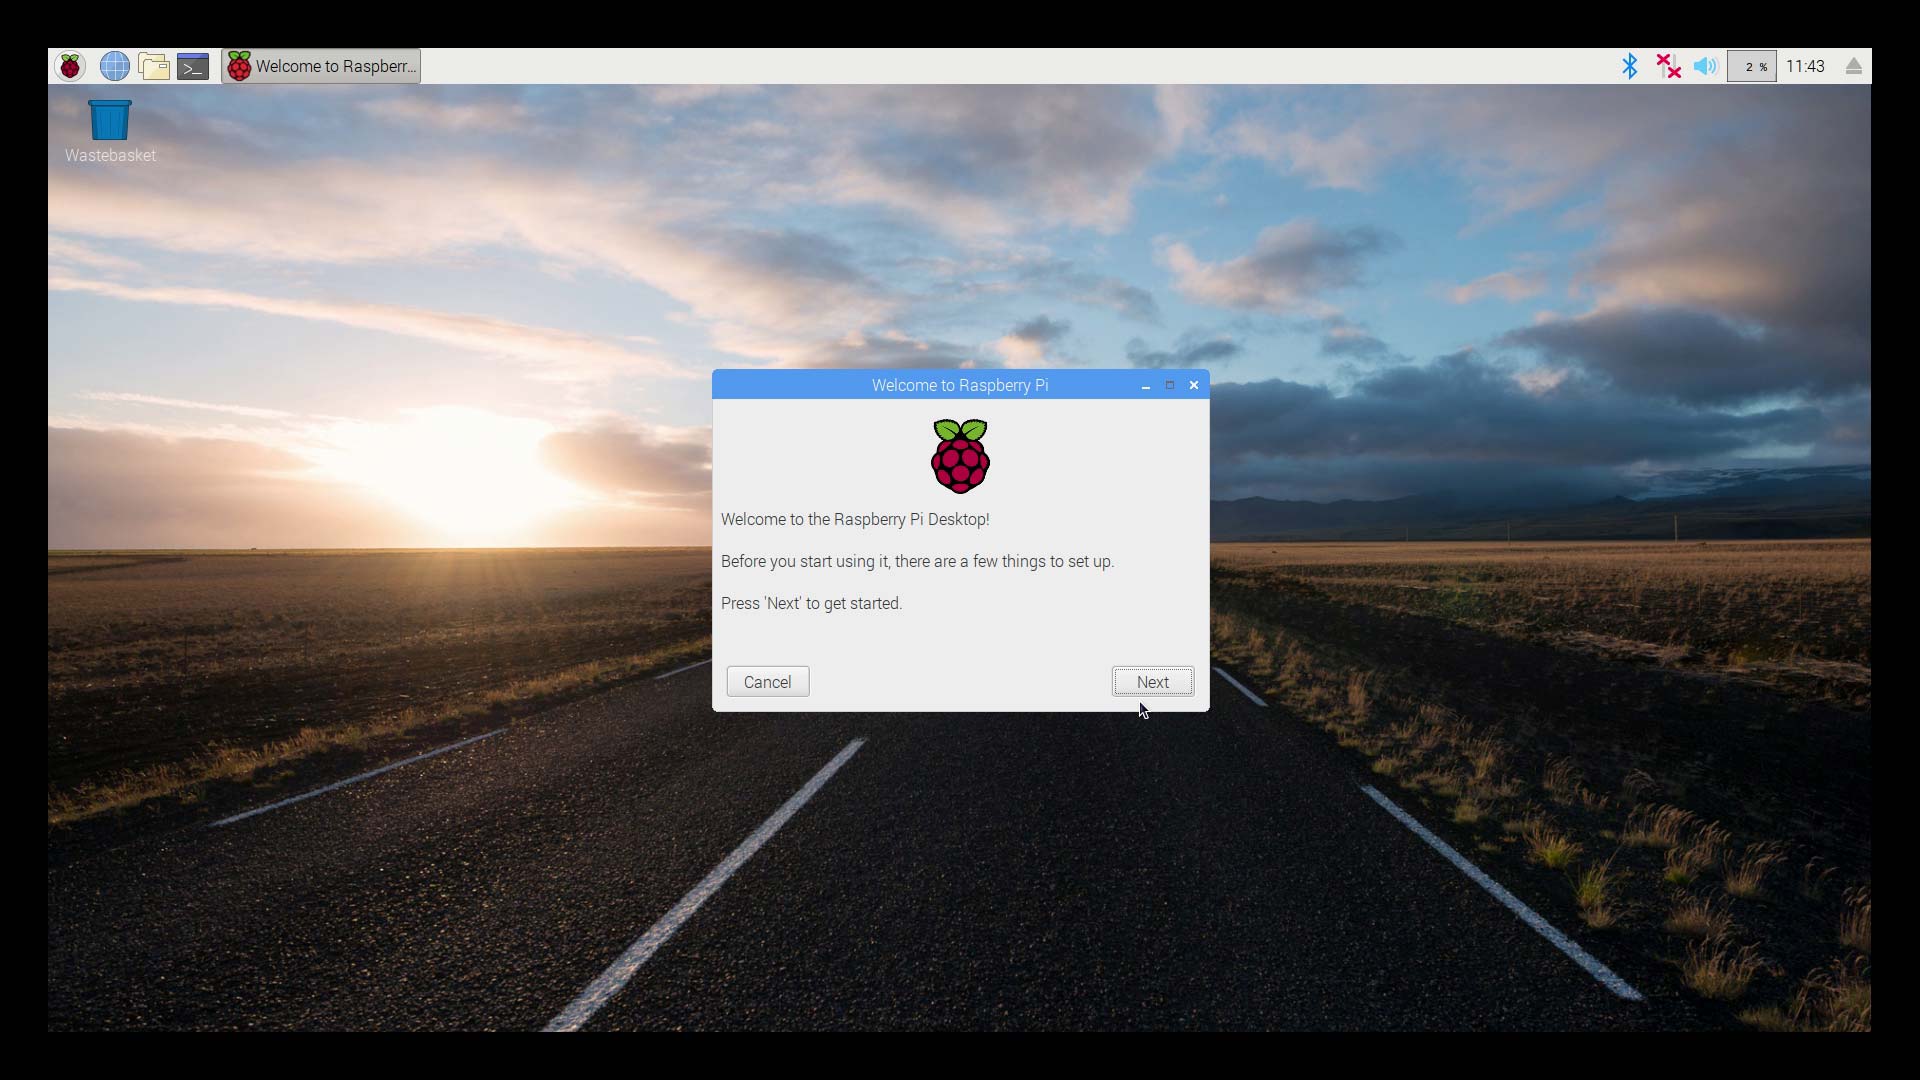
The Raspberry Pi is fully booted. Out of interest in saving bandwidth, we're going to focus on windows within the Raspberry Pi instead of doing full-screen shots.
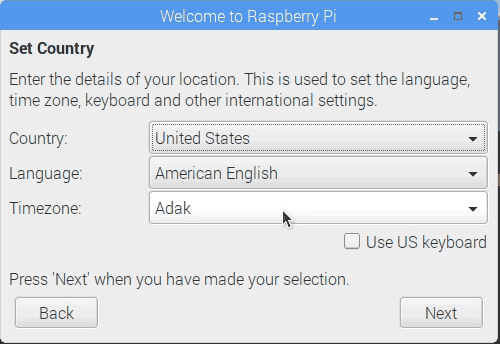
We going to continue with the wizard that was presented to us on the boot-up of the Raspberry Pi and change our country to the respective geographical area. This is sort of important to do because if you are a US user and you leave it to default on a UK keyboard then things like "*" which is shift+8 in the states don't necessarily work and get mapped elsewhere.
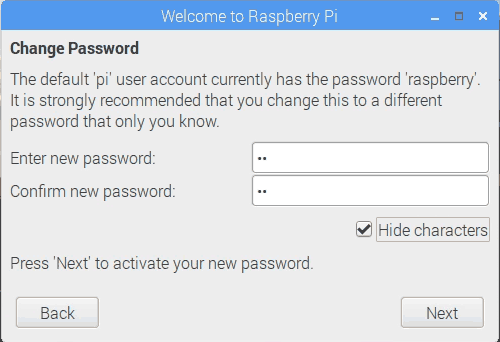
It will then ask to change your password. It is highly recommended that you do so and that you remember the password for sanity's sake.:)
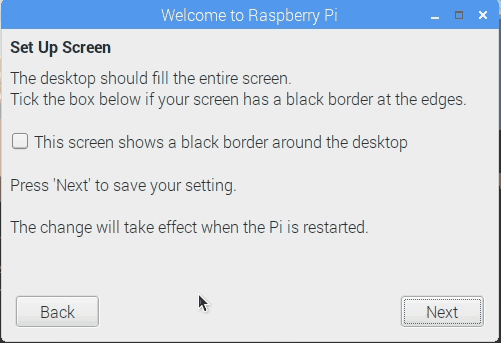
If you noticed on our pi screen we had some wicked black bars around the screen. To us, this is okay because we had our Pi plugged into an HDTV which requires that to compensate for overscan. However, if you have your Pi hooked to a monitor you can check the box that there are boarders and the PI will attempt to remove them for you.
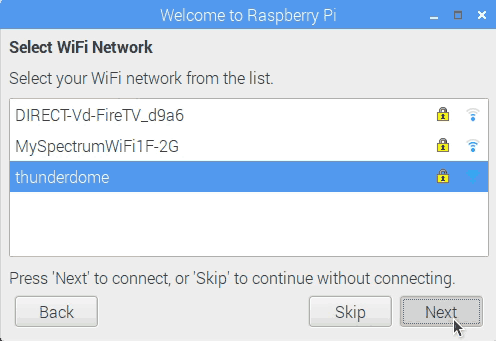
The next thing the wizard will ask for is your network. Now if you hook your Pi up via hard-line you may not get this menu. either way, it's a good idea to set up your wireless connectivity so that you can move your Pi anywhere around your house and especially if your Ouya is in another room connected to your TV.
 Type in your super-secret wi-fi password for your PI so that it can log in!
It will attempt to login for you.
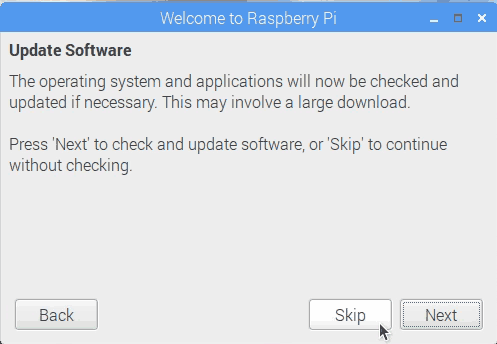
Raspberry Pi will want you to run their automated updates window. We're going to "Skip" this as we're going to ensure our updates via the command line later.
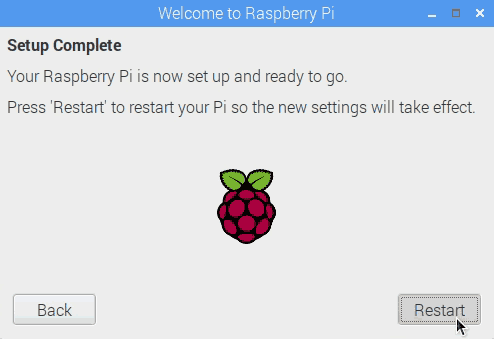
Finally to apply all of the settings in the wizard it will ask you to "Restart" your Pi. click on the button and let it reboot.
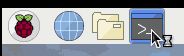
After everything boots back up again we're going to click on the icon to launch the terminal.

Once the terminal is ready to go we will now switch over and begin typing in a bunch of commands:
sudo apt-get update
and
sudo apt-get upgrade
a whole ton of text will fly by and it may ask you for permission to download files. Press "Y" to continue with each one. This will not only download new libraries but also new kernels as well to get your Raspberry Pi up to the latest edition.
After all, updates are completed on your pi here are the next commands and the most important to get our Raspberry Pi talking to the Ouya.
sudo apt-get install android-tools-adb android-tools-fastboot
Rather self-evident on what these are. ADB and fastboot for Linux. Also, press "Y" to install these as well.
After you've installed everything this would probably be a good time to bust our micro-USB cable and plug the small end into your Ouya for the local ADB port and the larger side over to one of the Raspberry Pi Ports.
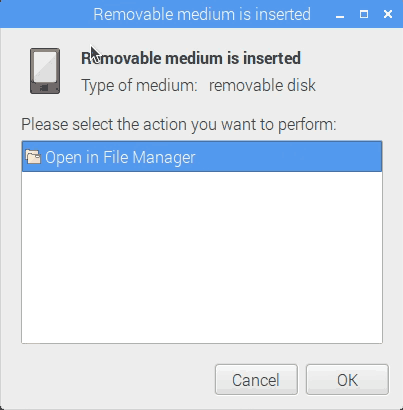
This window may appear the moment you plug your Ouya into your Raspberry Pi informing you that the MTP to (Media Transport Protocol) is making the Ouya behave as a storage device. you can simply click the Cancel button to get rid of this window.
We're going to start the ADB server.
adb start-server
on the first try, you may receive a message like this:
* daemon not running. starting it now on port 5037 *
*** Error in `adb': Free(): invalid pointer: 0x00677a38 ***
ADB server didn't ACK
*failed to start daemon*
simply type in:
adb start-server
again and it should give you a different response.
*daemon not running. starting it now on port 5037 *
*daemon started successfully*
Now why Raspbian does this on initial startup is a bit of a mystery to us. But either way we have now at least started the server.
If we type in:
adb devices
it should respond with something similar to this
015d49062a501415 device
If you get nothing then adb cannot see your Ouya and there is something wrong with your connectivity. Use DMESG to determine the USB status when connecting your Pi to your Ouya.
If you want to test out your ADB connection further you can type in the following:
adb shell
your Raspberry Pi color will disappear indicating that you are now logged into Ouya's shell and you can verify this by cd'ing to /sdcard/ to see the content out there.
Other points of interest within your Raspberry Pi.
You can pass the command:
sudo apt-get install p7zip
to attain a version of 7-zip which is used heavily in this blog. It is most likely already installed as the android tools tend to use 7-zip as a dependency but you'll never know.
Then, if you download one of our archives via the browser on the Raspberry Pi, OR if you upload it to the Raspberry Pi, you can then extract it via shell by typing.
p7zip -d lineageouya.7z
We're going to discuss further commands such as ADB sideload and ADB push later on in this tutorial. For now, the Raspberry Pi Os configuration is at least complete.
Final thoughts:
 This tutorial is apart of a series on how to ADB Lineage with a Raspberry Pi.
We do hope you found this tutorial useful.
May server protect you.
+++END OF LINE